Your lips lose moisture up to ten times faster than other facial skin during winter months, making them uniquely vulnerable to environmental damage. You’ll need a specific combination of occlusive agents and emollients—particularly beeswax, shea butter, and ceramide-rich oils—to create an effective barrier against transepidermal water loss. Understanding the precise ratios and molecular properties of these ingredients will determine whether your homemade lip balm merely sits on the surface or actually penetrates to repair compromised barrier function.
Why Cold Weather Damages Your Lips
Cold weather creates a perfect storm of conditions that compromise the delicate epithelial barrier of your lips. Low humidity reduces moisture retention, while frigid temperatures constrict blood vessels, limiting nutrient delivery.
Wind accelerates transepidermal water loss, causing fissures and inflammation. You’ll need a natural lip balm recipe formulated with occlusive agents and emollients to restore lipid barrier function and prevent further dehydration. Fortunately, ingredients like coconut oil and honey can help restore moisture and support natural healing without harsh chemicals.
Essential Ingredients for Winter Lip Protection
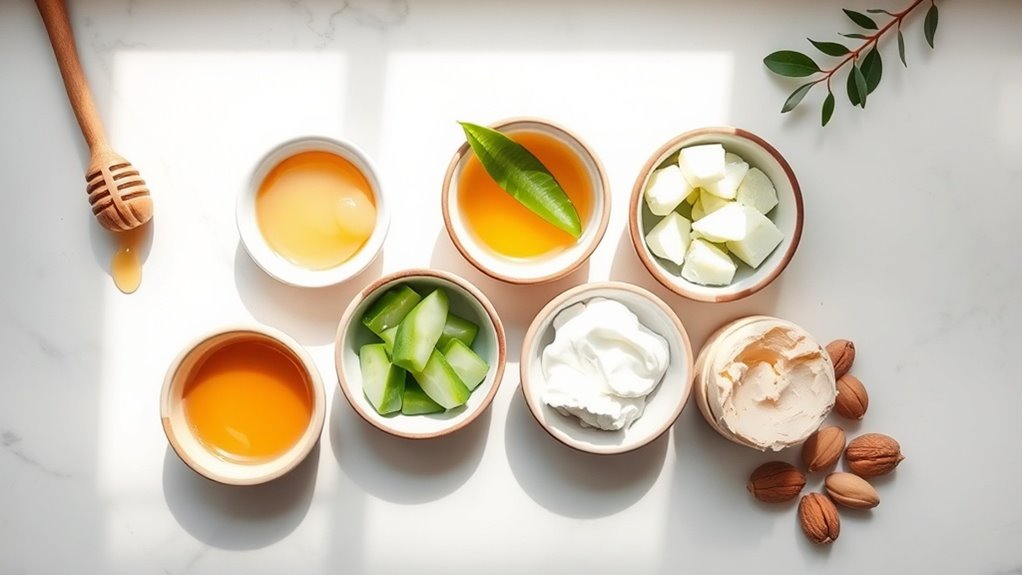
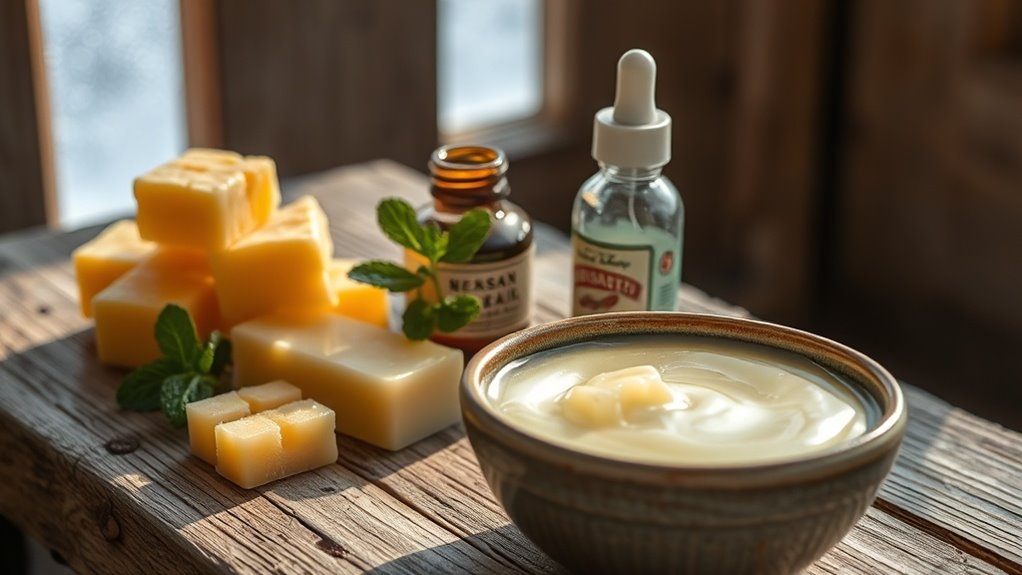
Four key ingredients form the foundation of therapeutically effective winter lip protection: beeswax, shea butter, vitamin E oil, and jojoba oil. Beeswax creates an occlusive barrier that prevents transepidermal water loss.
Shea butter delivers fatty acids for cellular repair. Vitamin E oil provides antioxidant protection against oxidative stress. Jojoba oil mimics sebum’s molecular structure, enabling superior absorption and long-lasting hydration.
This combination is particularly beneficial for addressing chapped, cracked lips commonly experienced during cold weather exposure.
Step-by-Step Natural Lip Balm Recipe
With these therapeutic ingredients identified, precision in measurement and technique determines the final product’s stability and efficacy. You’ll melt beeswax and carrier oil using a double boiler at 160°F, maintaining consistent temperature.
Remove from heat, incorporate vitamin E and essential oils, then transfer immediately into sterile containers. This controlled process guarantees proper emulsification and preserves bioactive compounds throughout cooling. For optimal lip care results, consider pairing your homemade balm with weekly exfoliation using natural lip scrub recipes to remove dead skin cells before applying moisture-sealing protection.
How to Apply and Store Your Homemade Lip Balm
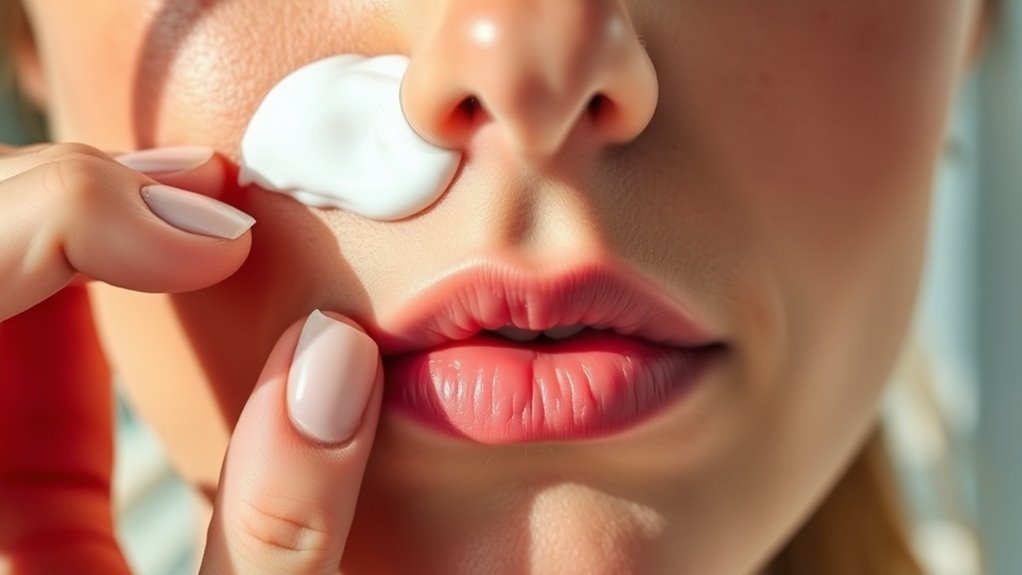
Proper application technique maximizes the therapeutic benefits of your formulated lip balm while preventing contamination of the product. Apply a thin layer using clean fingertips or directly from the container, ensuring even coverage across the vermillion border.
Store your balm in airtight containers at room temperature, away from direct sunlight to preserve active compounds. Refrigeration extends shelf life to six months. For optimal results, apply your homemade balm approximately 20 minutes before bed to allow the natural ingredients to form a protective barrier that supports overnight healing and moisture retention.
Customizing Your Recipe for Extra Moisture
Hydration-compromised lip tissue often requires enhanced emollient concentrations beyond standard formulations. You’ll increase occlusive protection by raising beeswax ratios to 30-35% while incorporating lanolin at 5-10% for superior moisture retention.
Add vitamin E oil (1-2%) as an antioxidant barrier strengthener. Hyaluronic acid powder (0.5%) binds water molecules effectively. You can substitute shea butter with cocoa butter for increased ceramide delivery.